
How to Increase Your Blog’s PageSpeed Score by Using a CDN
Page load speed is essential to running a great website. Not only does it improve user experience, but faster loading times enhance search visibility, as well. There are several ways to optimize a WordPress-powered website for mobile speed, and putting your site on a content delivery network is one of the more straightforward means of doing so.

Image credit: Pixabay
A content delivery network or CDN reduces latency by reducing the geographic distance between a visitor’s device and the assets being delivered. CDNs are composed of servers distributed around the world, where copies of a website’s resources, such as images, scripts and other dynamic data, are made across these servers. When visitors access your site, their browsers fetch the resources from the nearest node instead of the main web host. By reducing latency, a CDN reduces the overall webpage loading time.
For this guide, we’ll take the Incapsula CDN and walk you through installing it and setting it up. The service offers a free tier, which already comes with DDoS and bot protection. This guide works for sites running on Linux hosting with access to CPanel’s DNS Advance Zone Editor and not just WordPress.
Most self-hosted WordPress sites are on shared Linux hosting like the one in this guide. You might have a different setup, but the basic premise should be the same.
Step 1: Check Your Page Speed Insights Score
Before we do any efforts in increasing page load speed, we need to find out our baseline score first. Head over to Google Page Speed Insights, type in your site’s URL and check your scores for mobile and desktop.
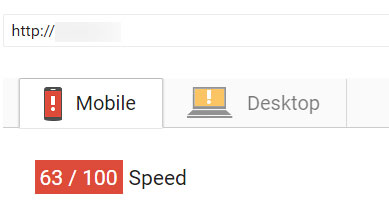
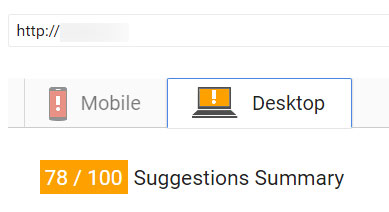
In this case, the site scored a measly 63/100 for mobile and 78/100 for desktop. The main culprit’s the server’s response time. This site is on an affordable shared hosting. Let’s see if we can get the scores up just by using by Incapsula’s CDN.
Step 2: Sign Up for Incapsula
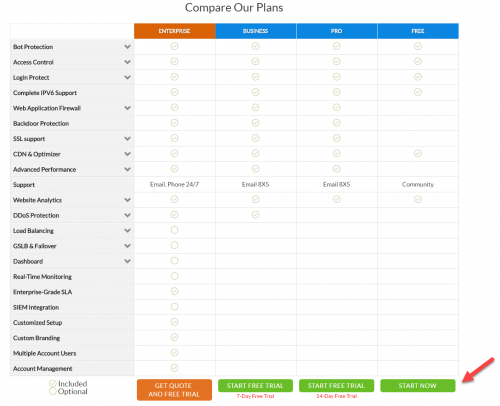
Head over to the pricing and sign up page. Scroll down to the price comparison chart. Below the Free column, click Start Now.
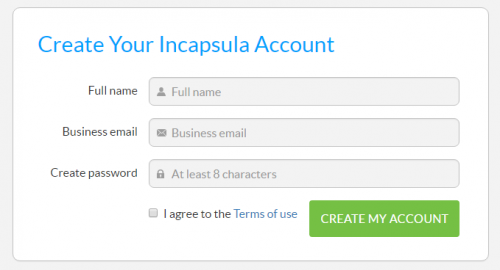
Signing up is free and you don’t even have to put in payment or billing details. You just need to confirm your email after signing up and you automatically get access to the free package.
Step 3: Add Your Site on Incapsula
Once signed in, you can now add your site. Under the Sites tab, type your site’s URL in the Add a website field and click the Add Website button.
![]()
Incapsula will scan your site’s records to get your host’s name, location, IP address, and whether HTTPS is supported.
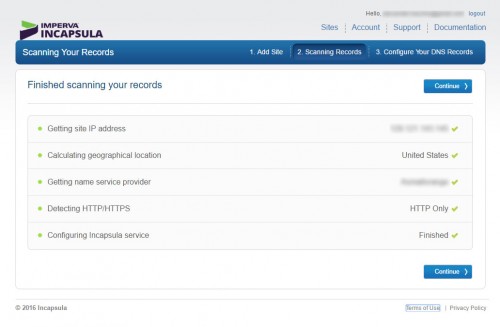
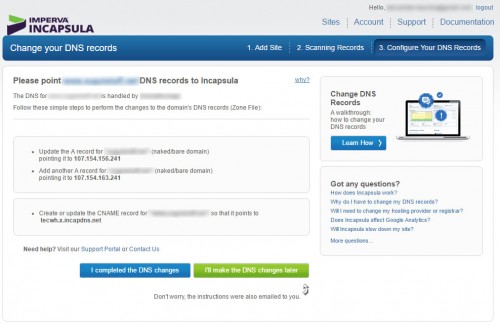
Click continue to proceed. The service will show you the next steps which requires you to update your DNS records.
Step 4: Edit Your DNS Records in CPanel
Leave the page open. In a new browser tab, log in to your web host’s CPanel access. Different web hosts might have this differently. Most popular ones can give you access by logging into your account page. Some allow you to login directly into the shared server’s CPanel login page.
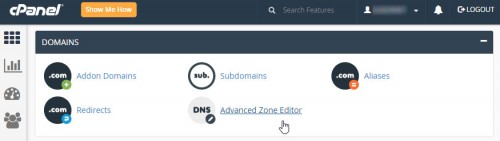
Under Domains, click Advanced Zone Editor.
Within Advanced Zone Editor, select your domain and then add and update the records as instructed by Incapsula.
First, update the “A record” for your domain. Scroll down to Zone File Records to find it, then click Edit.
NOTE: Copy the existing IP address value in this field in case you need to revert your DNS back to default. You would also need it later in an added step.
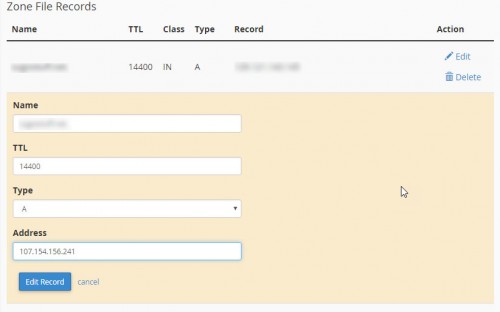
Input the IP address as shown in Incapsula’s instruction. Don’t forget to click Edit Record to commit the change.
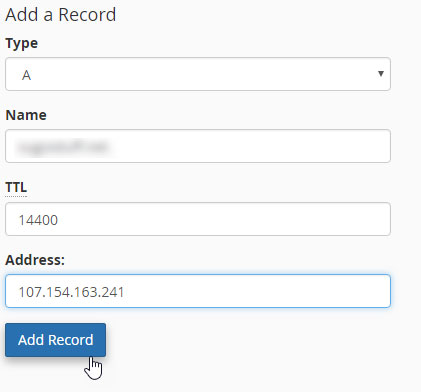
Second, we need to add another A record as instructed by Incapsula. To do this, scroll up to Add a Record and input the following details. Under name, just type in your domain (without the www prefix). TTL is usually defaulted to 14400. Type of record is A. The address should be the IP address in the second bullet in Incapsula’s instruction. Click Add Record to add.
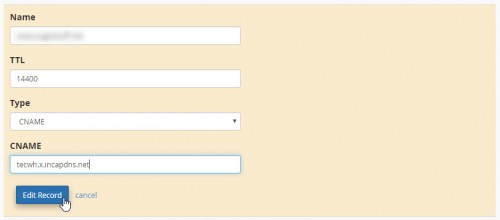
Third, we have to edit the CNAME record for your domain. Scroll down back to Zone File Records and look for the CNAME record of your domain with the www prefix. Click Edit and change the CNAME field value to the one instructed by Incapsula. Click Edit Record to commit the changes.
Now, here’s an added step if you use CPanel’s webmail with your domain. Since Incasupla doesn’t handle mail, you also have to change the CNAME for mail subdomain (e.g. mail.yourdomain.tld). Since we need to point this record to your host server. Hope you copied the existing IP address in the first step.
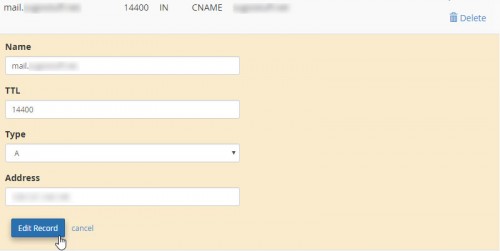
Instead of CNAME, change the record type to A. Under address, input your host’s IP address. In case you failed to do so or lost it. You can check the IP address for the other DNS records like webdisk and copy that value.
Don’t forget to click Edit Record to commit the changes.
In case, check your record for ftp too and update that as well.
Step 5: Confirm the DNS in Incapsula
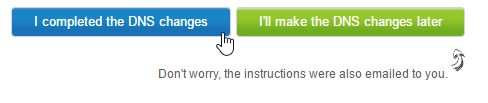
Switch back to your Incapsula tab and click the “I completed the DNS changes” button.
This will send you to the Sites list again. Now, your site list still says Pending DNS changes, don’t worry. Just check your records in CPanel to check if you typed in the correct address values. Take note that Incapsula also warns you to update your mail and FTP records. So if you lost the original IP address, Incapsula’s good enough to give it to you in this step.
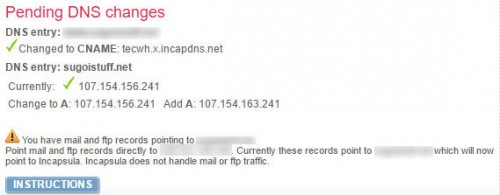
Sometimes DNS records takes a couple of minutes to get updated in your host server. Just refresh the page.
Once successful, your site should appear under the list. That’s it! You have successfully used a CDN with your site.
You can now logout of your CPanel on the other tab.

In just a week of using the Incapsula, it has already protected the site from bad bots. This example site is a low-traffic site.
Step 6: Check with Page Speed Insights for Improvements
Now, the big moment. Let’s check if simply using a CDN can up the site’s Page Speed score. Go back to Page Speed Insights and check the site again.
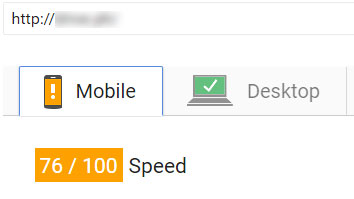
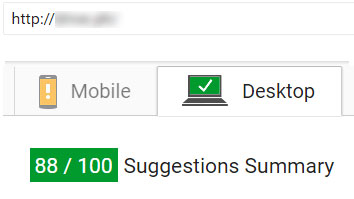
Amazingly, the mobile score jumped 13 points to 76/100 and the desktop score jumped 10 points to 88/100 and is now green!
Further Optimization
Now, mobile’s still far from green but Page Speed Insight will give you the other points for improvement. In this case, it’s the use of a graphic intensive theme, CSS, and JavaScript that’s causing low scores. It needs further optimization but double-digit jumps in score is already quite big. No added expense and just about five minutes of work!